Showing posts with label tutorial. Show all posts

Wednesday, March 13, 2013

My Ruching Techinques

I had a request from Christina on how I made the skirt and gathers for my winter Tiramisu. So here's goes another tutorial attempt.

First, the circle skirt is very easy. Basically I did the first four steps Steph shows for the pavlova. I used fabric instead of the tracing medium and the Tiramisu skirt pattern. I just made sure the edges of my waist sides were touching and cut the circle out of the center of my fabric.

The Tira skirt is shaped differently from the Pavlova so you cannot
line it up on the edges like in Steph's illustration.
The whole point is to have a circle/oval cut from the center.

I staggered the two layers so you have no Angelina Jolie
leg moments while wearing the square skirts. This is why semi sheers
work well with this design.
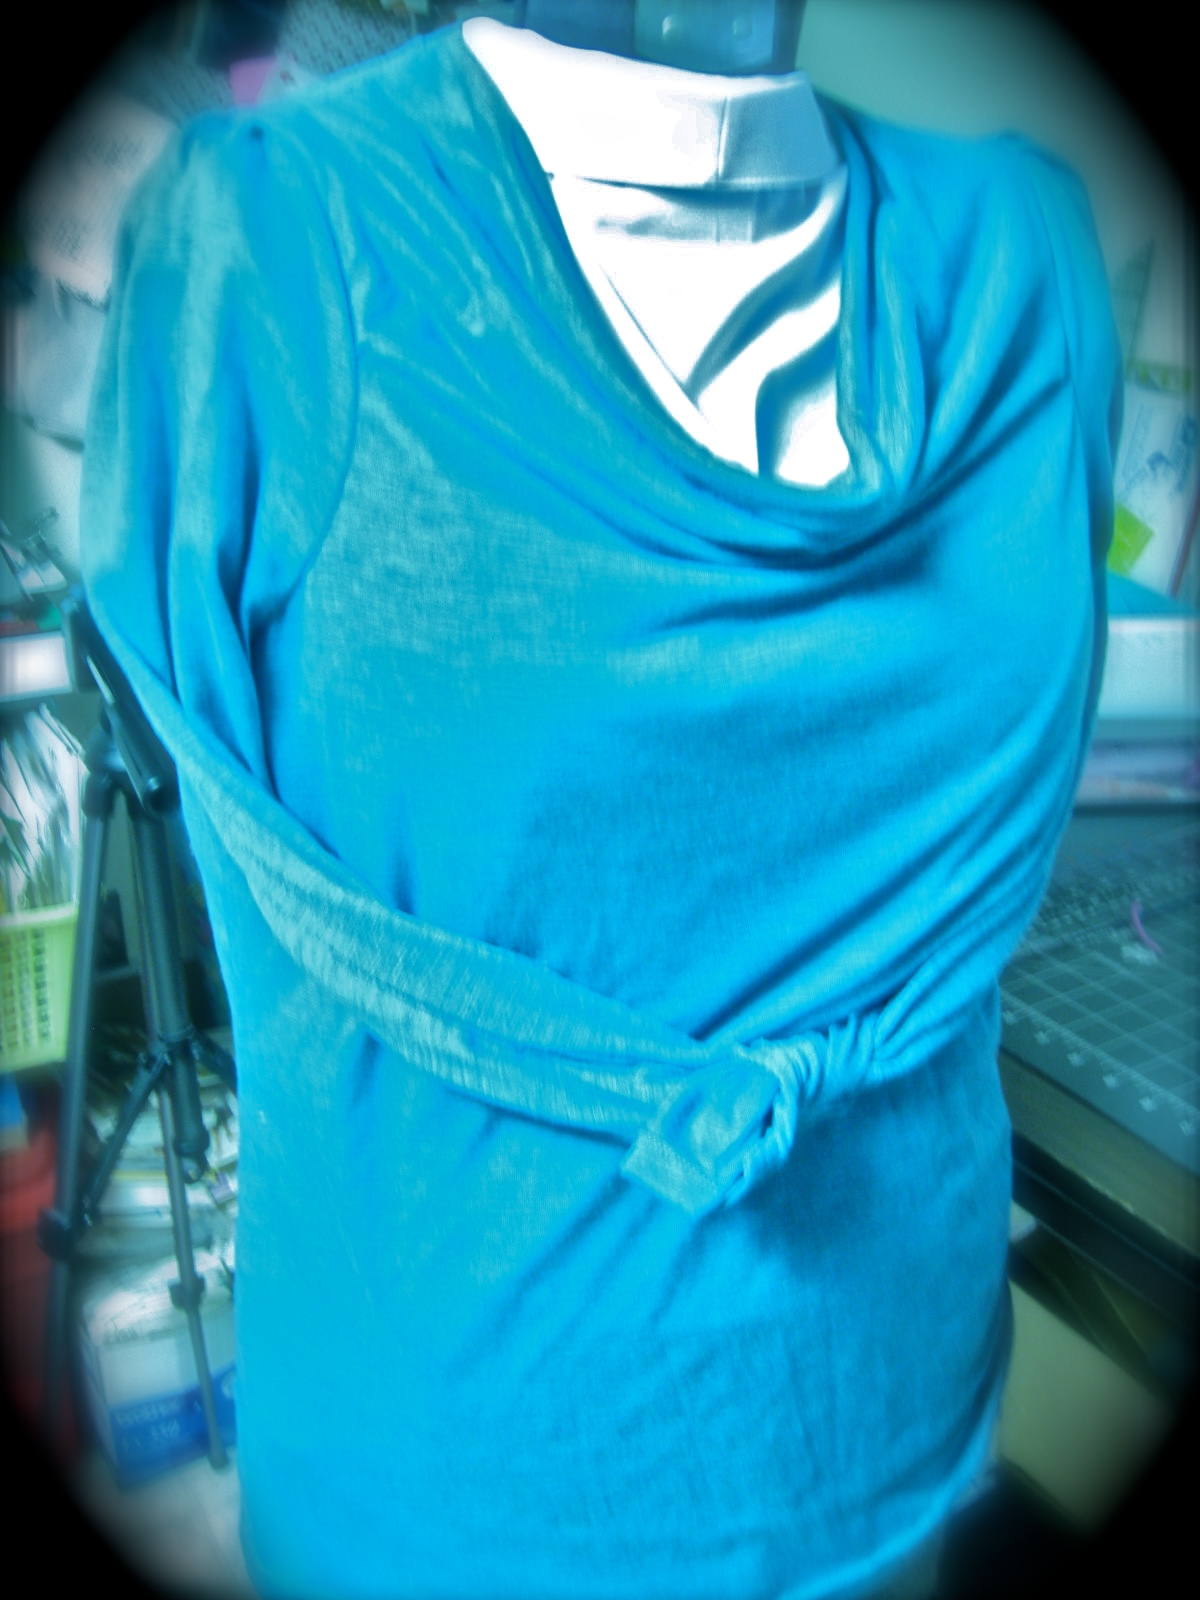
Gathering/ Ruching Technique
  I have three different ways I gather fabric depending on it's type and how it will behave. This is the one I decided to use on the Tira skirt since it is so full and there isn't a lot of pulling on it to pop the stitches.
First I wore it around the house with a safety pin holding the gathers. When
it didn't pop or pull with wear I decided it could be safely hand sewn.
Pinch all the layers together. Starting at the bottom of your gathers go
through all the layers coming back down through the top. Kind of
like sewing on a button. Do this several times and knot your thread
at the bottom.
Tada! You're done!
That's it. Two super simple little twists to add some fun to a project. Go and make a handkerchief hem skirt for whatever weather is headed your way. It's sure to be twirly!

Have you ever made a handkerchief hem skirt before? Do you love twirly skirts? 

Wednesday, February 27, 2013

Cheater Cowl Tutorial

Hi Stashbusters,
This is my loving February gift to you! My cheater version for drafting a cowl without really drafting... This post will have a lot of pictures and I apologize for not getting a photo of the final product on the recipient. It looks a lot like my bird top.
This was on my stashbusting list so completing this project brings me up to 5 of my 27 garments accomplished.

Cheater Cowl Neck Tutorial

Supplies:

  • Your favorite knit t-shirt pattern
  • very drapey knit, if it isn't fluid and drapey don't even think about using it for this.
  • a piece of wire or something bendy that will hold its shape
  • a nice pen with that fluid ink
  • everything else you need to make a t-shirt
Step 1: Lay out your shirt pattern like you normally would leaving extra space at top of front pattern piece.

Step 2: Cut a piece of wire the exact length of your front armhole. (mine is bent from use)


Step 3: Cut out bottom and side of pattern like usual and remove pattern piece without disturbing fabric.


 Bend your wire into a U shape. The deeper the bend the deeper the cowl will dip.
 

Step 4: Lay the curved wire at the cut edge and trace your new armhole shape. Neaten edges if needed.

Step 5: Align front pattern piece with the edge of the armhole and draw shoulder line, marking the neckline. Continue that line doubling that length plus a 1/4 to 1/2 inch seam allowance.

Aligning the shoulder seam
Marking notch and doubling the length.
Final shoulder line.
Step 6: Draw a straight line from shoulder seam to folded edge.


Front shoulder and neckline drawn.

T-shirt front cut out.
 Step 7: Finish back neckline however you prefer. I chose to do a self fabric binding.


Step 8: Finish raw edge of neck and fold at shoulder mark.


 Step 9: Match up shoulder seams of front and back. Sew as usual.

Front to back sewn together.

Close up of shoulder seam at neckline. 
Step 10: Finish shirt as directed. Wear.

Photoshopped pic of the final result.
So there you go, easy peasy! If you make it up, have any questions on this process, or have any tips on bettering my tutorial skills; please leave me a comment and I will do my best to answer! 
Thanks for taking the time to catch this weed, I'll be tumbling along now...
EMily